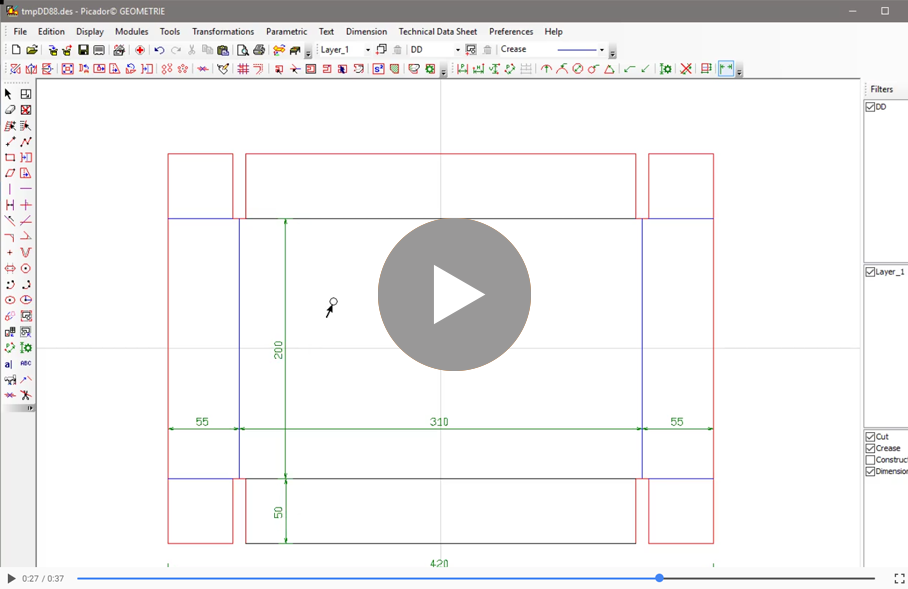
Let's apply the basic drawing technics to design our first packaging:
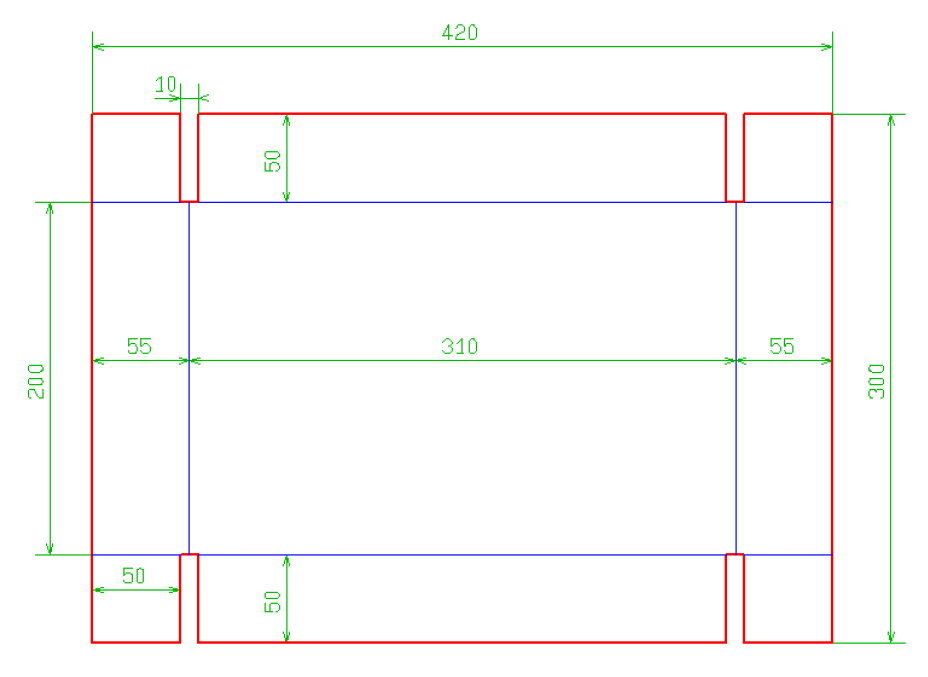
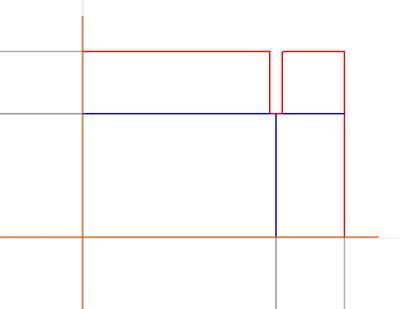
In this model, we can see the construction is symetric. That means we can only draw a quarter of the box, and duplicate it:
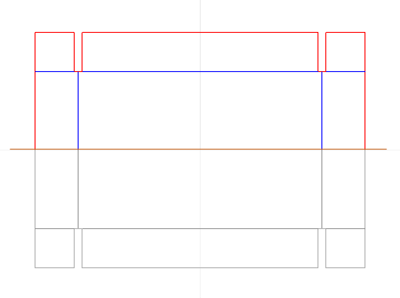
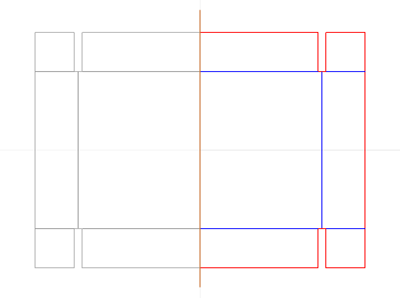
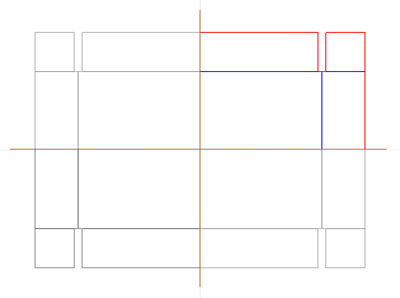
Follow the steps in the videos to build the design:
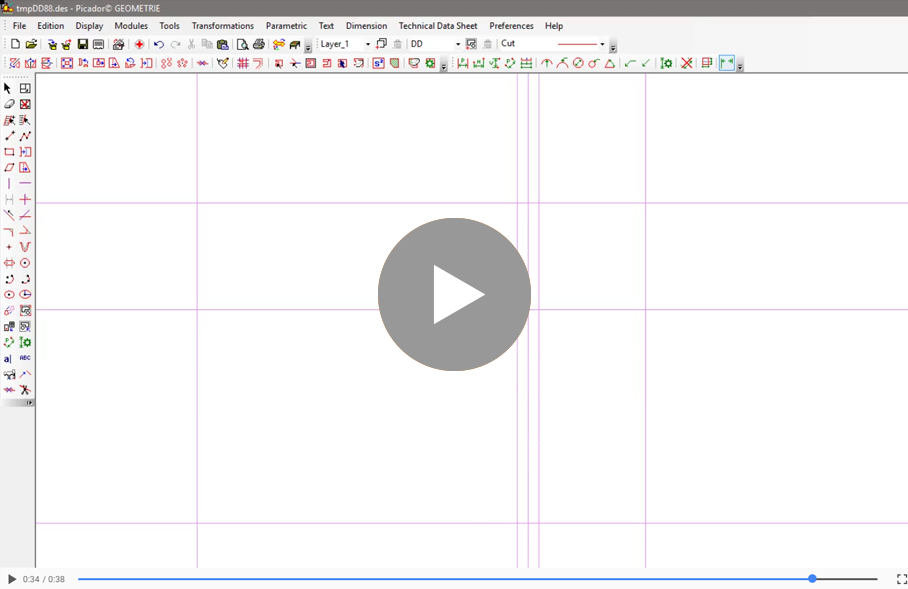
1- Draw construction line at a distance from the X axis and Y axis to build the geometry:
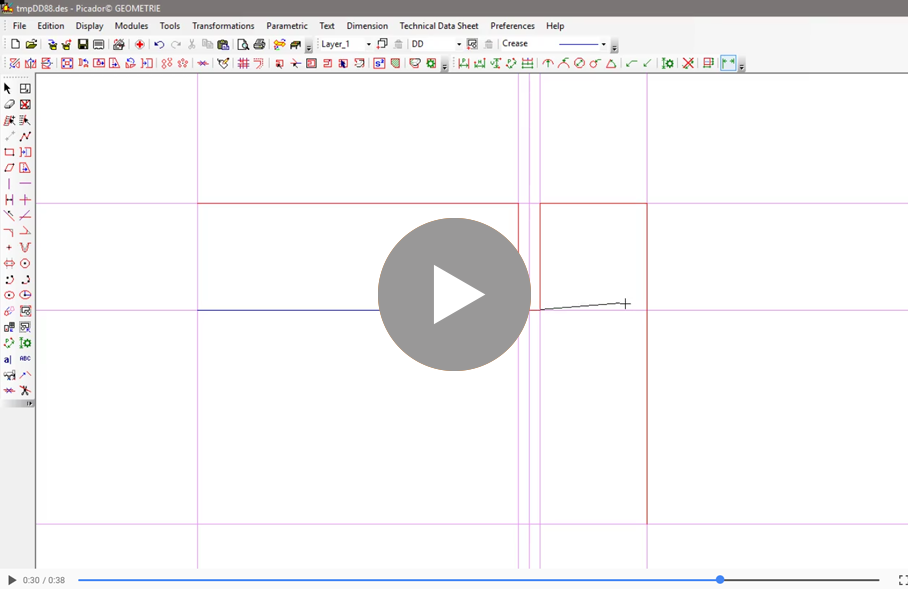
2- Use the continuous segment to draw the external profil in cut line. Use the 2pts segment to draw the crease lines:
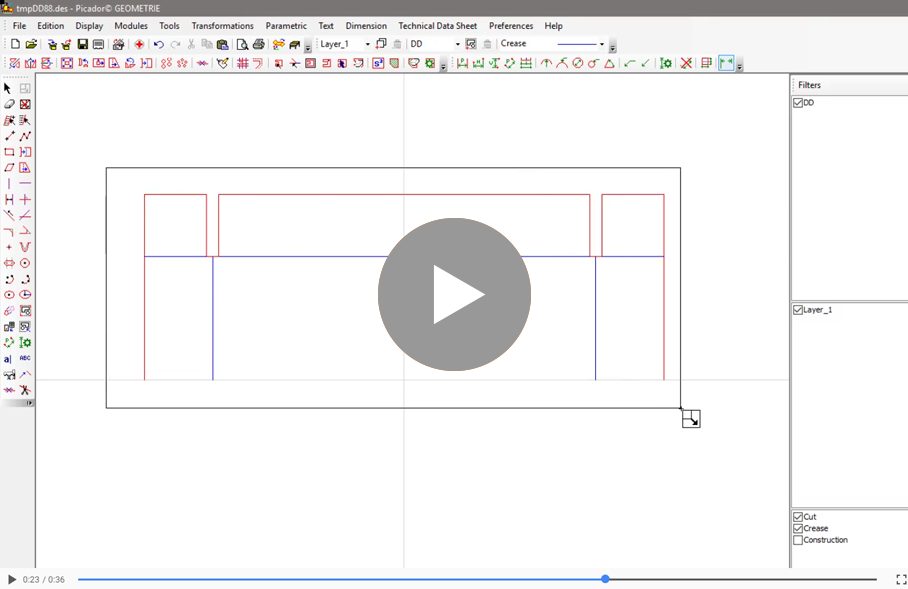
3- Hide construction line in the filter bar, to avoid duplicate them during the symetry. Select the entities, apply a vertical axis symetry using the extremity of the joinning segment to define the axis. Select all your drawing again and apply a horizontal axis symetry using one of the bottom extremity to define the horizontal axis:
When the symetries are well executed, the two midlle segement must be joined into one segment.
4- Place dimmensions using "Parallel lines dimension" tool and "Chains of dimensions":
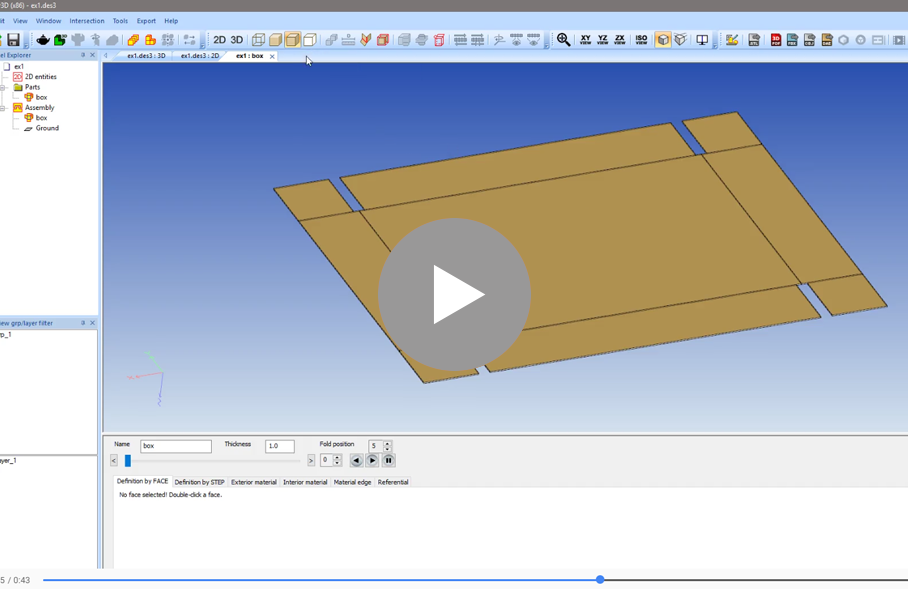
5- Export to Picador3D, and create a foldable solid with the drawing:
Use "create a foldable solid tool"  ,
,
name the object you want to create:
And clic on the inside part of the design to create the object.
6- define a folding animation:
The automatic folding give you a quick overview of the final shape, but it is folding every part in the same time.
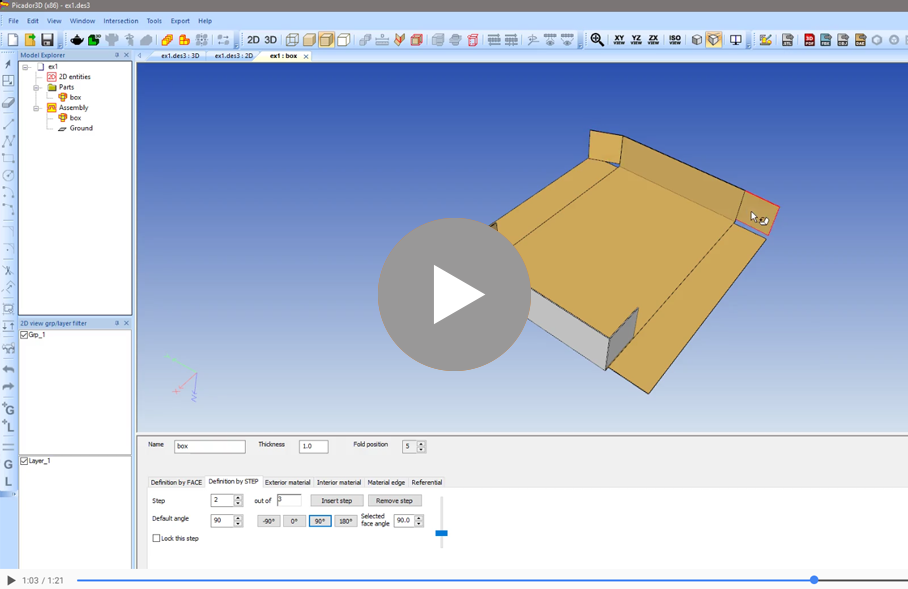
In the "Definition by step" tab, it is possible to split the animation in multiple folding step, making a folding sequence:
Folding step of the automatic folding:
Step 0 is the starting step of the animation, the box is completly flat.
In Step 1 every part is fold to 90°
The objectif is to start from the step 0 and to insert a step, this new step go between the existing steps. In this new step change the folding position of some parts. Then insert an other step and continu to fold your box step by step.
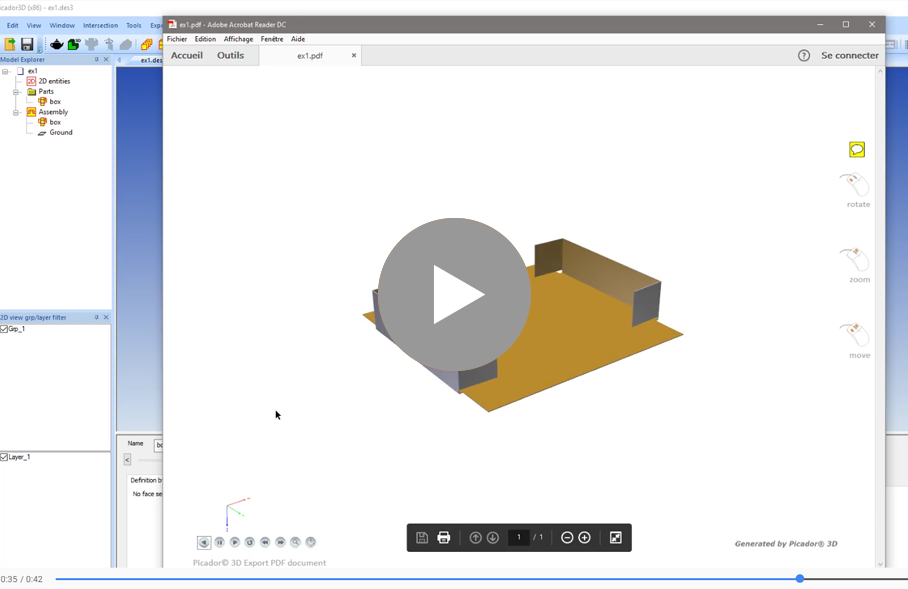
When you are ok with the folding part, export a 3D PDF file to see the animation in Adobe Reader:


