
")
")
")
PICADOR : Guía de comienzo
The start guide designed to help new users to handle the basics of the software.
Picador installation:
The installation can be started from the CD or the downloaded program: www.treedim.com
The serial number that is required at the installation procedure is noted on your order
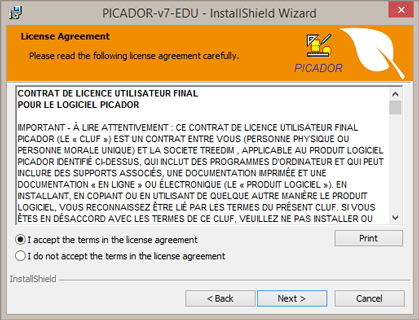
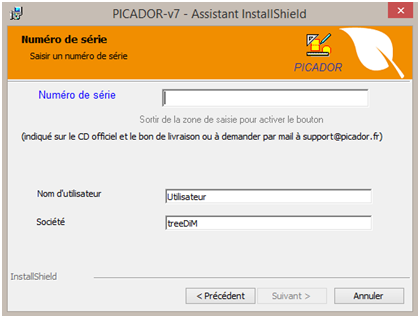
Then, follow the instructions normally until the end of the procedure.
Picador activation:
Then send it to
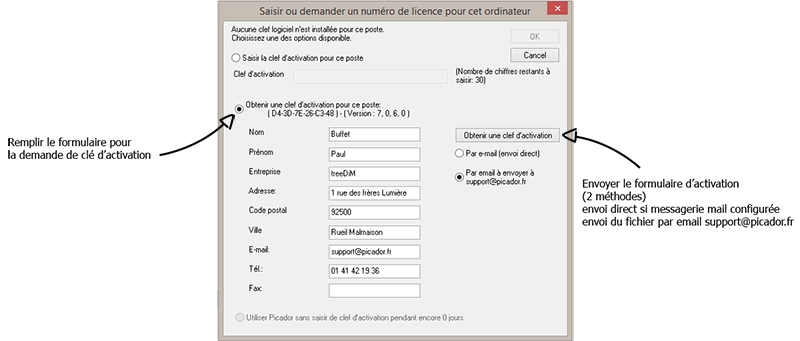 The activation key is sent after checking the validitée the Picador license. Copy the key in the fields, then click the "ok" button
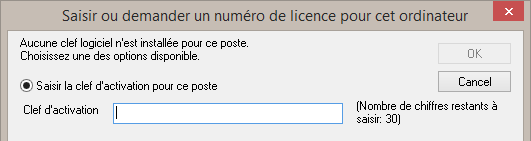
Picador is now activate on your computer.
Picador different modules:


Geometry (the basics of CAD drawing with Picador)
Toolbars:
All the functions and drawing tools are grouped in the form of icons in toolbars. Which are posted around the software window. To keep a clear interfaces, all toolbars are not visible in permanence. The display list of toolbars and available by right clicking in the toolbar area.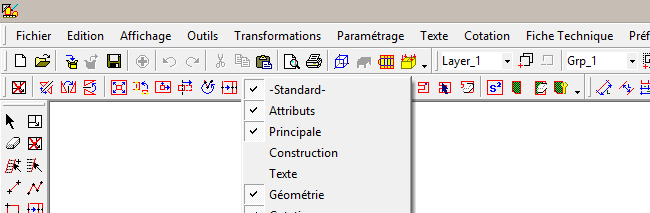
The point selection:
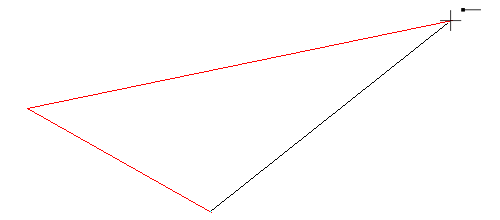
To construct a geometry using functions Segments 2 points1 - Selection of the point with just a click when a hooking assistant is visible sides of the mouse cursor:
The point of attachment is the extremity of a segment or arc
![]()
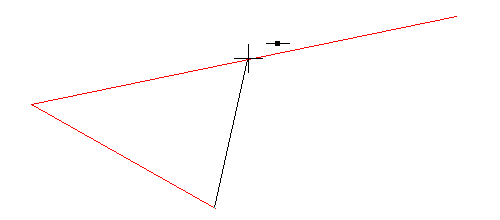
The attachment point is the midpoint of a segment
![]()
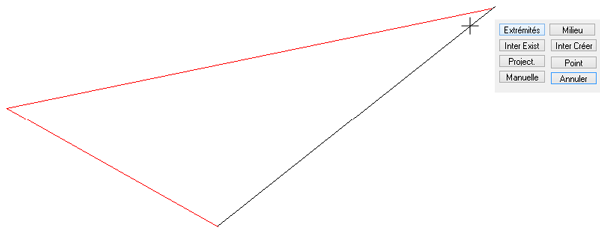
The attachment point is the intersection of two segments or construction lines ...
2 - directly by right clicking on an entity (segement, bow or right), it is possible to select a snap point of that entity:
3 - By seized coordinated the points. Defined by the position of the point on the X axis and Y
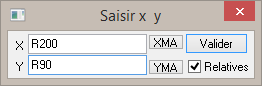
LWhen a coordinated is defined in relative terms (by adding "R" or "r" before the value), it is defined from the previous anchor point.
The rules selection:
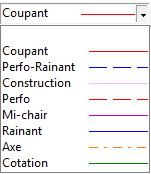
The vast majority of designs made with respect Picador plans of packaging or cardboard displays. The plan, which are drawn with Picador represent the packaging design, but also tooling plan, then we can talk about cutting plan. The pens of different colors directly define rules that will be used on the cutting tools.
The construction lines: 


Once in place, the "construction lines" or "guides" create attachment points to build the geometry
Navigation:
To move in the document, use the arrow on the keyboard.
To Zoom forward and backward, use the mouse wheel.
Tip: reframes the zooms to the cursor position, point the area to be detailed
Use the Z key to key recardrer drawing in the center of the page.![]()
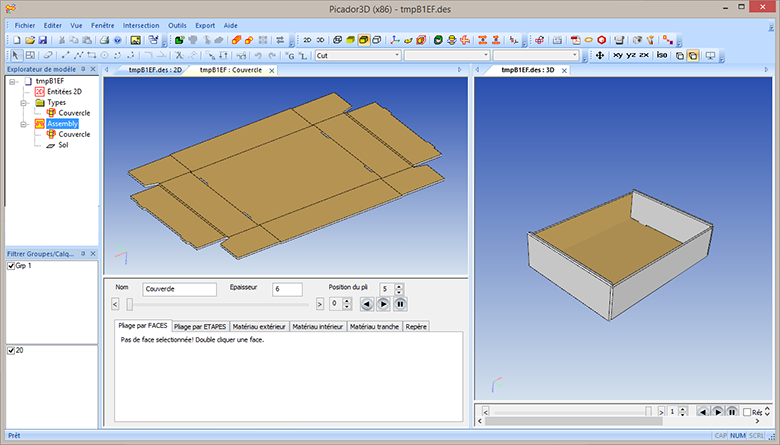
3D Folding
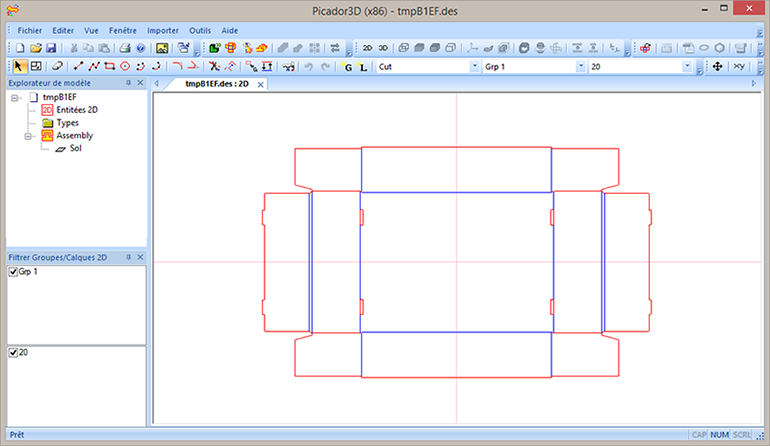
Transfer of 2D drawings to 3D Picador
When the 2D plane is sufficiently completed, it is possible to realize a 3D folding prototype.
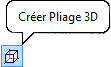
This requires the plan to transfer Picador 3D, using the "Create 3D folding" function in the Picador Geometry toolbar.
New Picador 3D window opens, the plan is displayed.
Create a 3D folding
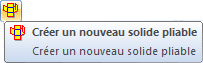
Transfomer the (now displayed in 3D Picador) by folding, by using the function: "Create a new foldable solid"
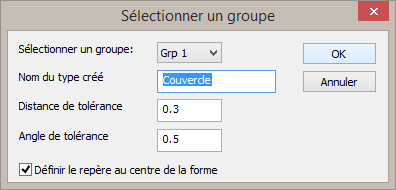
A window appears, enter the name of the object (bottom, cover, box ...), then confirm.
It must then click on the side of folding which will remain fixed (reference face) to create the fold:
Formation
treeDiM - Picador provides training for the handling and use of advanced software of PICADOR